This part is the continue part from Thing to prepare for Mt.Kinabalu.
Part1 is written about the preparation and items which I bring for trekking, about the tour, how is the route to the hotel. If you didn’t see and intrested to climb up to Mt.Kinanabalu at least the item what I bring should be useful info.
Thing to prepare for Mt.Kinabalu
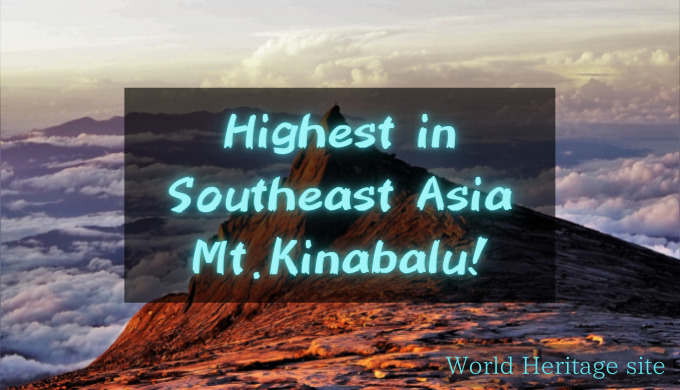
I participate the 2day trip tour to go until the Low’s peak of World Heritage site Mt.Kinabalu. Other than this 2night 3days plan also have, If you are intrested to check other tour you may refer Amazing Borneo.
2nd day is from Palanaban and until Low’s peak is around 800m ocean level but I didn’t expect it took more than 3 hours.
Of course my tiredness was still remain from yesterday and full leg was pain. At last I just needed to fight against myself only but when I reached to the goal and saw the wonderful scenery all my effort was become as worth action.
Peace of mind before Low’s peak attack starry sky
I explained at the last part of Part1 but when no cloud and weather is fine you can see very beautiful starry sky at Mt. Kinabalu. Hope your good luck but why not try to get up little early and see this beautiful scenery.
You can take photo by your phone if you have night mode but my main purpose for the mirror less camera was to take this starry sky.
Until 1am most of the area light cannot turn on so 12am is good chance to see.
Luckily no cloud and not raining so I was able to see the clear sky even can see the milky way.
In the past my No.1 spot for starry sky was New Zealand Tekapo. It was also nice but Mt.Kinabalu I had more luck so I feeled like this place was more nice. Please also read about New Zealand Tekapo. But to be honest it’s difficult to compare actually because both place are really nice and Tekapo can see almost everyday for the nice starry sky.
Best place to see starry sky in the world Tekapo New Zealand #3
This photo is taken by using Olympus E-PL10.
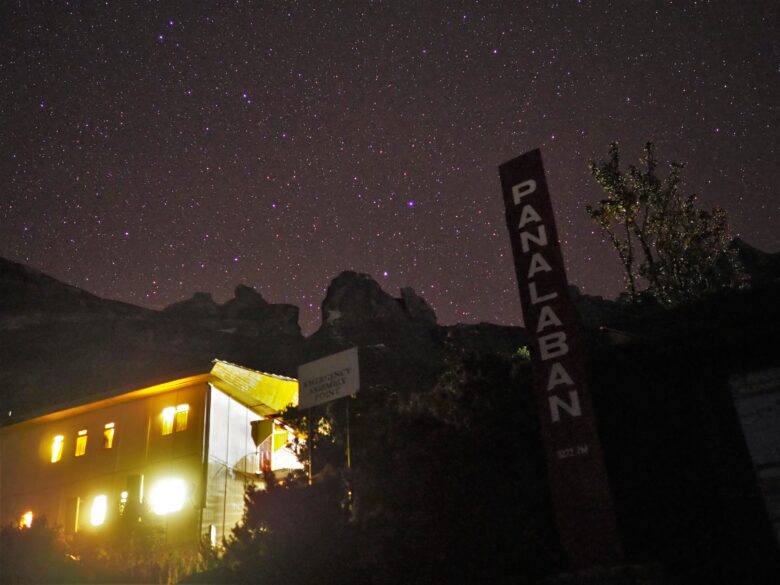
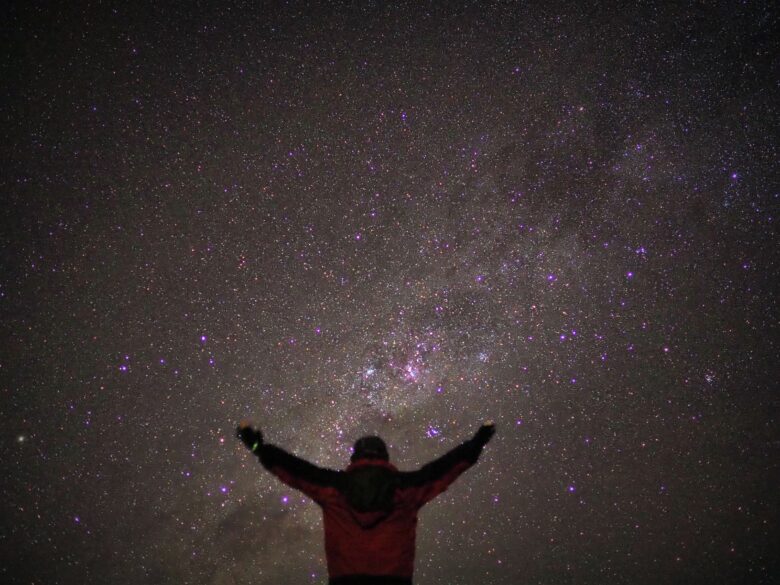
Meal before the Low’s peak attack
From 1am cafeteria will be open.
The meal is so called Sapah which is common to eat in midnight but for me the menu was heavy. In this time mini mart is still not open. If you worry about the menu I prefer you to buy in advance.
To climb to the Low’s peak you really need energy better not to challenge without eating anything.
The taste for me (Japanese) was soso. I just eat it to earn energy but if you love Malaysian cuisine than should be no problem.
Low’s peak attack was started from 2:30am which I decided with the tour guide yesterday. It took 3 to 4 hours and depends on the time of sunrise too. You should check with the tour guide of the sunrise time and set the time to start.
Starting to Mt.Kinabalu Low’s peak!!
My departure was 2:30am but both of us meet each other at the assemble area 5 minutes before so we’d depart a bit early.
Surrounding is still dark but at the start point still many people is there so maybe you don’t have to turn ON your light. At this area most of the people walk really slow so better go up with your own pace to avoid to arrive late at the goal.
Especially for my case it was really slow so I bit rush at here. I think I wasn’t able to manage to the Low’s peak if follow this group.
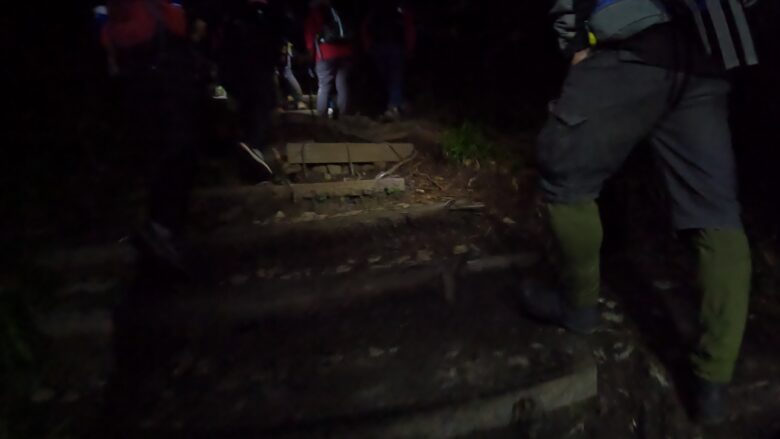
The stairs height and the rock is sometime high and huge so you need to use your all body power. But mostly they have roap so I prefer to use the roap to support and reduce the load for your leg.
Yesterday I only use leg so my upper side was very fine.
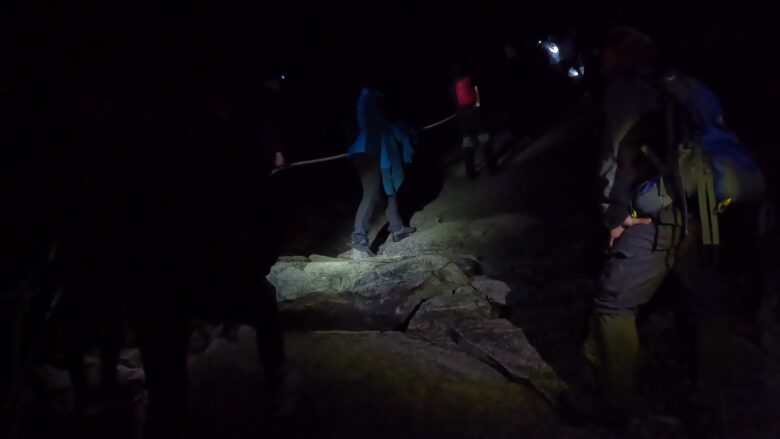
Sky is also very nice. It might be difficult to see like the picture shown before the Low’s peak attack because of time but if you have a chance to see or during the small break please check.
Main rest area has 2 point. And the last place is check point which you need to show your ID/passport. Around 7.5km point is the check point.
From the last check point the distance is just 1km but it took 1hr and 50 minutes.
Same way you need to take to return but you will surprise on where you have been walking. If no cloud you can even see the town below.
10m or 20m before the low’s peak you need to climb the rock. Some of the place is bit crowded because people are waiting for sunrise but according to Rony that place is not the best point.
Once arrive to the low’s peak you will take picture in front of the display. It will be the evidence. I think even after sunrise with clear blue sky is also very nice to take photo here. But my tour is 2day trip so after this need to check out the hotel before 10:30am otherwise I need to pay 100RM (25 USD) so make your own plan to meet this.
From here to hotel it took around 2hours including photo time.
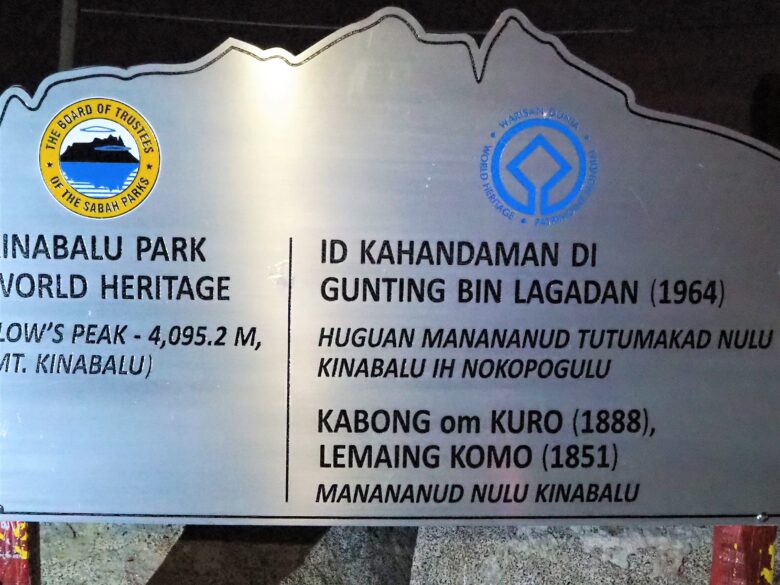
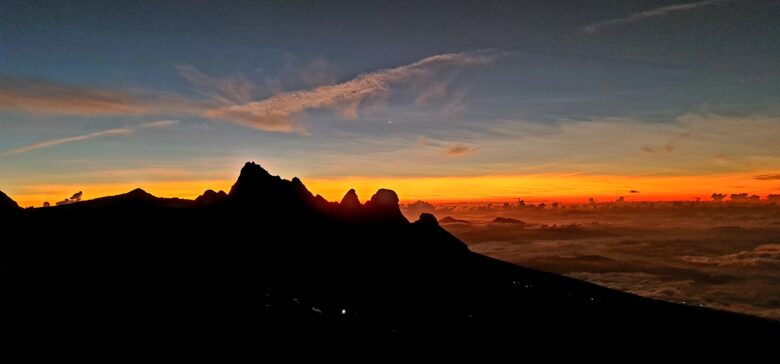
On 5:54am I arrive here. Almost sunrise will start but still have 10 – 20 minutes so we rushed to move to the best spot.
Low’s peak temperature was around 10 degree but there were strong wind so I feeled more cold.
Wind proof jacket is really necessary to bring.
From here Rony spirits to take photo was burning.
After low’s peak all the photo was taken by him and he was just keeping my phone. He really surprised on the quality of the camera. All the photo taken is used my phone camera only.
Camera:Samsung Note 20 Ultra
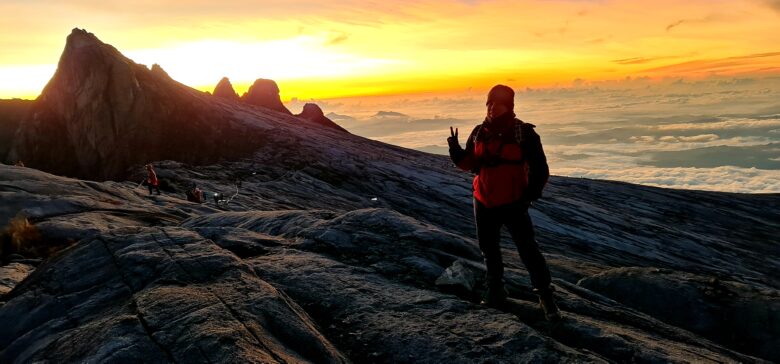
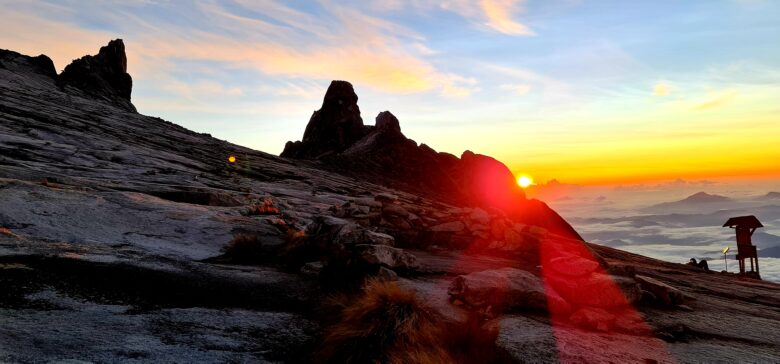
Even from photo you can know that it’s very beautiful place. Around this area you can see mirror pond, gorilla face rock, donky ear rock so please try to find or ask the tour guide.
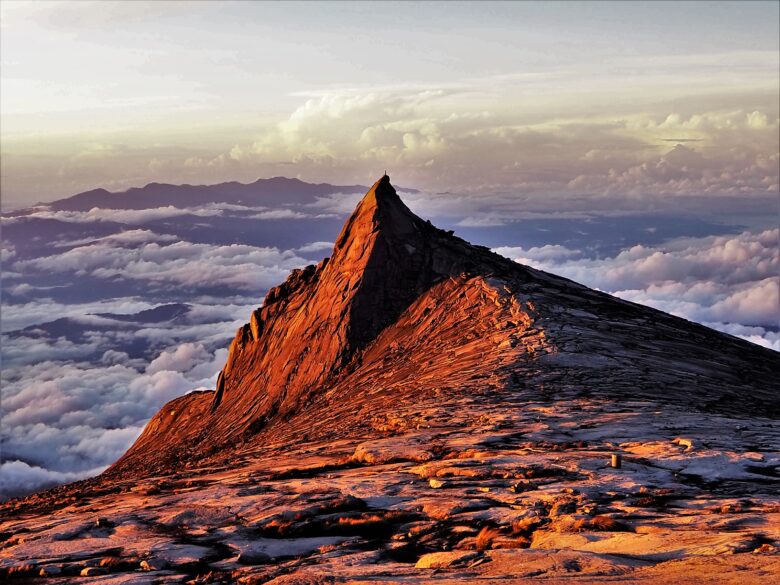
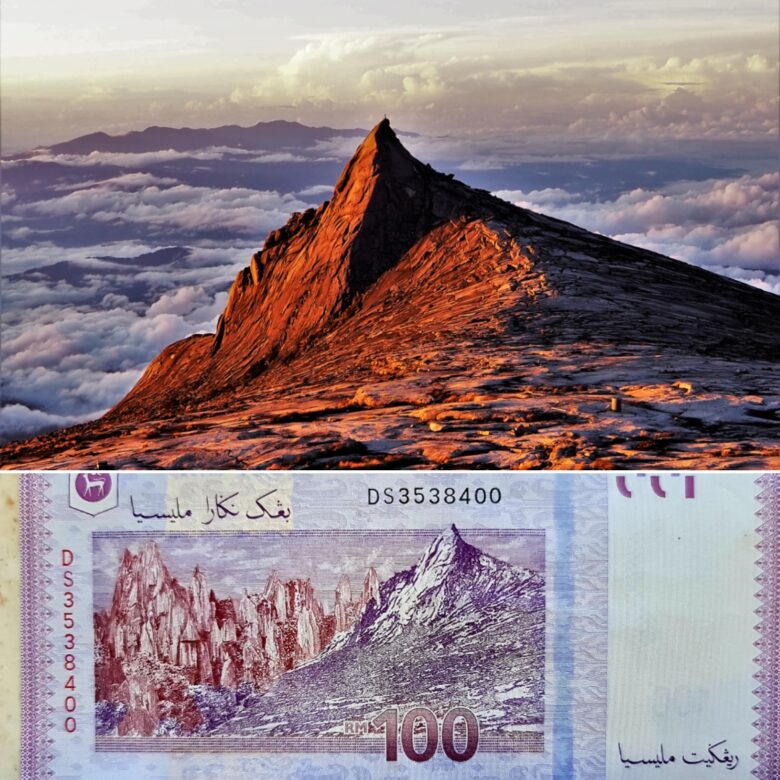
This is symbol of Mt.Kinabalu. You can take some trick art here.
I notice later but do you know what is this used for?
It is used for Malaysian money 100RM.
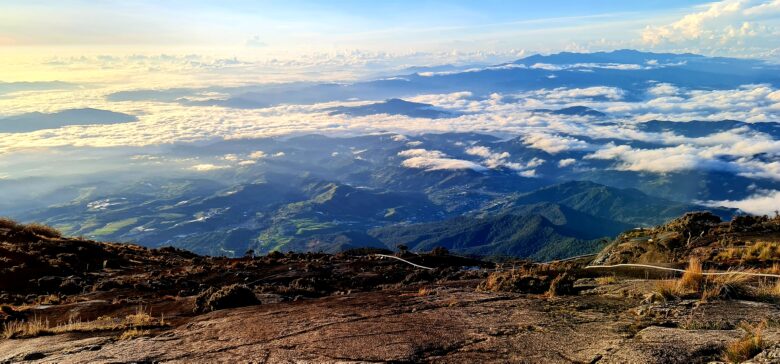
This day was really fine day so can see the view until the bottom of Mt.Kinabalu.
First day and of course durig the low’s peak attack you cannot see but after that you will surprise your way you walked.
To Panalaban some wooden stairs are frosted and very slippy so please be careful to get down.
To return back to Panalaban was also too tired for me but I arrived there on 7:55am. From 8am you can eat breakfast and after the breakfast start to prepare for check out and going to the bottom.
I check out the hotel on 9:30am.
Nothing much to explain about this journey but just try to go down by searching the easy way and try to save your energy.
For me my leg was already so pain and needed to support by using my hand to get down some stairs.
13:30 pm I arrive to the HQ.
Once you arrive you will get the certification which is the evidence that you go up to the low’s peak with your name. So first in case you should check the name is correct or not.
Only the person who reached to low’s peak can get this certification. If you give up no chance.
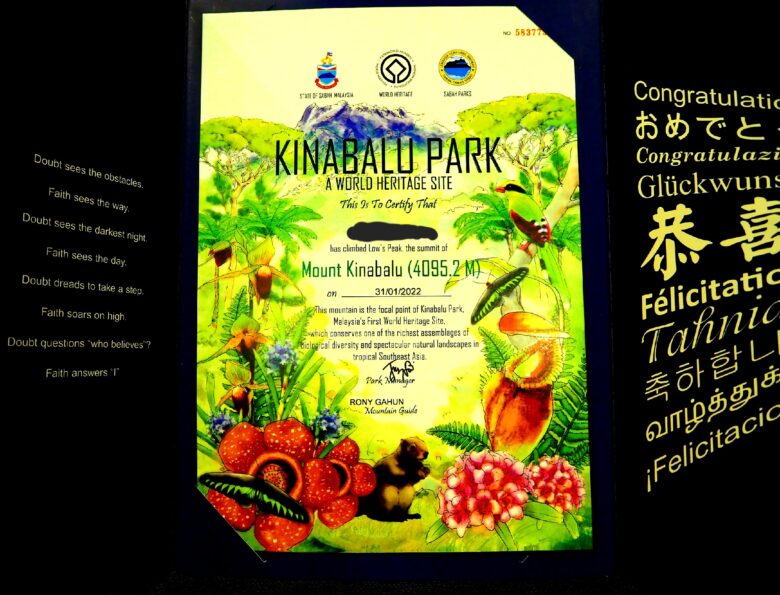
My lower part muscle was really pain.
From the HQ it will take more than 2hr to return back to Kota Kinabalu.
It used to say that beginner can go but I think only the person who have energy can make it. At the end I was just walking without thinking anything.
Summary
- Before the meal or low’s peak attack check the beatiful starry sky
- Confirm you departure in advance by considering your energy with the guide
- To avoid to become altitude sickness don’t do hard work
- Try not to take break for long time otherwise become cold
- Purchase the head light in advance at mini mart if you forget to bring
- Do your best and reach to the peak so that you can get the Mt.Kinabalu certification (name must check)
This part is the continue part from Thing to prepare for Mt.Kinabalu.
Part1 is written about the preparation and items which I bring for trekking, about the tour, how is the route to the hotel. If you didn’t see and intrested to climb up to Mt.Kinanabalu at least the item what I bring should be useful info.
Thing to prepare for Mt.Kinabalu
If you stay or live in Malaysia this will be one of the thing you’d better challange to climb Mt.Kinabalu.
If you are afraid to climb there are also the tour to just go nearby Mt.Kinabalu by day trip. Near to Mt.Kinabalu there are Poring hot spring and rafflesia garden to see too.



Comments